Thursday, January 29, 2015
PTU Tutorial ~ Bonjour Paris + FREE Snags!!

**This tutorial is my own creation, from my own imagination. Any similarities are purely coincidental!**
This tutorial was written in PSP9, but should work well in other versions!
This tutorial was written in PSP9, but should work well in other versions!
Supplies:
Kit: I'm using the beautiful kit Bonjour Paris by the talented Drea's Creations. This is a gorgeous kit of whimsy romance with 111 elements and 22 papers!! You can pick up this amazing kit at either HeartBeatz Creationz, Pimpin' PSPers Warehouse, or Tiny Turtle Designs.
Tube of choice: I'm using the beautiful artwork ©Di Halim, that is an Exclusive at Pics For Design, called Anna.
Mask: I'm using 102 by Millie's PSPMadness, which you can find HERE.
Template: I'm using Template 723, also by Millie. You can find this template HERE.
Font of Choice
Plugins:
Xero: Porcelain
Eye Candy 6: Gradient Glow (optional for text)
Ready? Let's get started!
In PSP, open the template. Shift + D to duplicate and close out the original.
Delete the copyright and both word art layers.
Resize all layers 80%.
Image > Canvas Size > 650x650.
Remember to add your drop shadow through the tagging process! My settings for this tag are: 2, -2, 80, 7.00.
For each layer of the template, you will need to go
Selections > Select All > Float > Defloat prior to pasting your chosen
paper as a new layer. After pasting the
chosen paper, Selections > Invert and DELETE. It’s very important to delete the template
layer after pasting your paper, otherwise you end up with odd outlines! I also resized each paper 70% prior to
pasting as a new layer. These papers are
gorgeous and I wanted the patterns to clearly show on the template!
Papers used, in order from the bottom to the top:
Layers 1 & 2 (Black Rectangles): DC_Paper16
Layers 3 & 4 (Green Circles): DC_Paper2
Layers 5 & 6 (Black Diamond Circles): DC_Paper4
Layers 7 & 8 (Grey Squares): DC_Paper15
Layers 9 & 10 (Dots): DC_Paper9
Layers 11 & 12 (Red Circles): DC_Paper1
Layers 13 & 14 (Grey Rectangles): DC_Paper7
Layers 15 (Large Black Rectangle): DC_Paper9
Layers 16 & 17 (Glitter rectangles): Colorize > Hue
126, Saturation 71
Layers 18 & 19 (Red Rectangles): DC_Paper6
Now, I wanted the Glitter Rectangles to act as more of a
frame than a background for the red rectangles (previously layers 18 & 19),
so for each layer: Selections > Select All > Float > Defloat, then
click on the corresponding glitter rectangle and DELETE. Move these layers to the top and when you add
a drop shadow, you will see they are frames!
From the kit, copy DC_100 and paste as a new layer on you
tag. Resize 60%.
Layers > Arrange > Send to Bottom
You can colorize it, if you’d like, but I opted to leave it
silver.
Duplicate. Image >
Mirror
From the kit, copy DC_61
and paste as a new layer on you tag.
Resize 30%
Move this layer down below the Diamond Circle
From the kit, copy DC_66
and paste as a new layer on you tag.
Resize 30%
Move this layer down below the Diamond Circle
From the kit, copy DC_60
and paste as a new layer on you tag.
Resize 25%
From the kit, copy DC_11
and paste as a new layer on you tag.
Resize 50%
From the kit, copy DC_15
and paste as a new layer on you tag.
Resize 40%
From the kit, copy DC_65
and paste as a new layer on you tag.
Resize 40%
Duplicate and move to the other side.
From the kit, copy DC_9
and paste as a new layer on you tag.
Resize 30%
Image > Mirror
From the kit, copy DC_13
and paste as a new layer on you tag.
Resize 25%
Image > Rotate > Left > 20
Sharpen
From the kit, copy DC_14
and paste as a new layer on you tag.
Resize 20%
Sharpen
From the kit, copy DC_94
and paste as a new layer on you tag.
Resize 20%
Sharpen
Open DC_28. Using
your Selection tool, draw a rectangle around one of the pins. Copy and paste as a new layer. Resize 25%.
Image > Rotate > Left > 20
Copy your tube onto your tag. Re-size and arrange it to make the tube
appear to be sitting on the stool.
Duplicate your main tube. Apply Xero: Porcelain with the default setting. Change the blend mode to Screen.
Paste your tube (or close up if you have one) again as a new
layer. Select the large rectangle
(previously Layer 15). Selections >
Select All > Float > Defloat. Line
your tube up to where the face is focused within the selected rectangle. Selections > Invert > DELETE. Change the blend mode the Screen and the
Opacity to 70. Move this layer down to
right on top of the large rectangle.
Select one of the papers and paste it as a new layer. Layers > Arrange > Send to Bottom. Apply your mask.
Add your proper copyright information.
Foreground: #4a7775
Background: #59cac5
For the name, I used the following Inner Bevel:

Followed with the following Gradient Glow in Eyecandy 6:

Layers > Merge > Merge Visible.
Save as a PNG and you're done!
Now for your snags! Please click on each snag to see the full size!


Tuesday, January 27, 2015
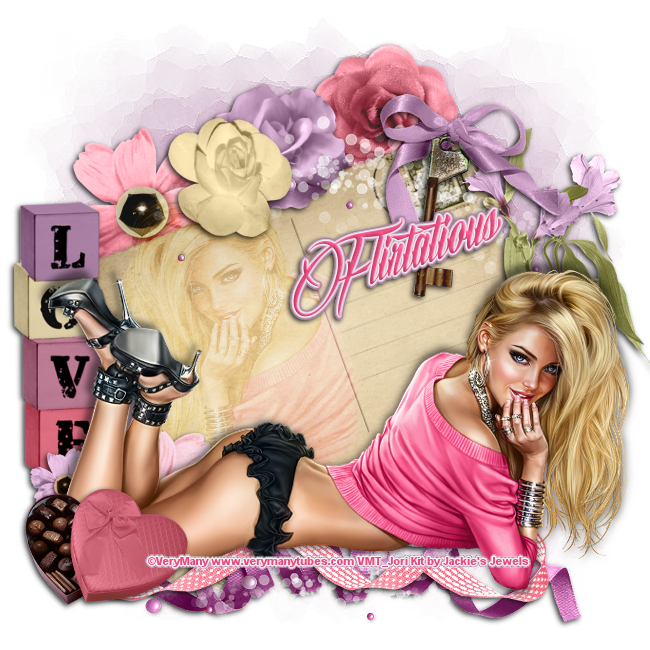
PTU Tutorial ~ Flirtatious + FREEBIE SNAGS!!
**This tutorial is my own creation, from my own imagination. Any similarities to any other work is purely coincidental!**
This tutorial was written in PSP9, but should easily work in other versions!
Supplies:
Scrap kit: I'm using the fun and gorgeous kit Flirtatious by Jackie's Jewels. You can pick up this beautiful kit at Pimpin' PSPers Warehouse.
Tube: I'm using the artwork of VeryMany and the tube Amelia. You need to purchase this work and have a license to use it. You can find this tube HERE.
Mask: I'm using Mask 27 from HorsePlay's Pastures. You can pick up this mask HERE.
Font: I'm using the font Billion Stars, which you can find HERE.
Plugins: Eye Candy 6: Gradient Glow (optional)
Ready? Let's get started!
Open a new canvas, 650x650, transparent background.
From the kit, copy JJS_30 and paste as a new layer.
Image > Rotate > Left > 20
Using your Freehand Selection Tool, Feather set at 10, draw an oval on the left had side of the postcard:

Paste your tube as a new layer and position it within the circle of marching ants. Selections > Invert. Delete. Change the layer blend mode to Soft Light.
From the kit, copy JJS_85and paste as a new layer. Resize 80%
From the kit, copy JJS_15and paste as a new layer. Resize 45%
From the kit, copy JJS_20and paste as a new layer. Resize 45%
Image > Flip
From the kit, copy JJS_16and paste as a new layer. Resize 40%
Image > Mirror
From the kit, copy JJS_18and paste as a new layer. Resize 40%
From the kit, copy JJS_24and paste as a new layer. Resize 40%
From the kit, copy JJS_82and paste as a new layer. Resize 75%
From the kit, copy JJS_63and paste as a new layer. Resize 75%
From the kit, copy JJS_79and paste as a new layer. Resize 85%
From the kit, copy JJS_19and paste as a new layer. Resize 85%
From the kit, copy JJS_57and paste as a new layer. Resize 85%
Paste your tube as a new layer.
From the kit, copy JJS_73and paste as a new layer. Resize 70%
Apply desired drop shadow to all of your elements and your tube. I used 2, -2, 80, 7.00.
Add your copyright and name.
Layers > Merge > Merge Visible.
Save as PNG and you're done!
Now for your snags! Please click on each image to save, so that the copyright remains clear!


Subscribe to:
Posts
(Atom)